Sim-Break
Project Sim-Break:
2024: February - June
Description:
Imagine you're locked up in a high-security prison with three other inmates. You have one chance to break free, but you need to work together and use your unique skills. Will you start a riot, hack the security system, sneak through the vents, or blast your way out? Every choice matters in this Immersive-Sim inspired experience, ensuring an unforgettable playthrough each time.
Experience:
For me personally this is the first time working with blueprints which took some adapting on my part. I mainly focused on technical settings and NPC enemy AI.

Enemy AI:
For the A.I. I decided to use Unreal’s behavior trees. This was made easier by the fact we only have a singular enemy type, the guard. These guards did however use different types of weapons, including melee and ranged. All other A.I. are friendly to the player and have much simpler behavior.
Structure
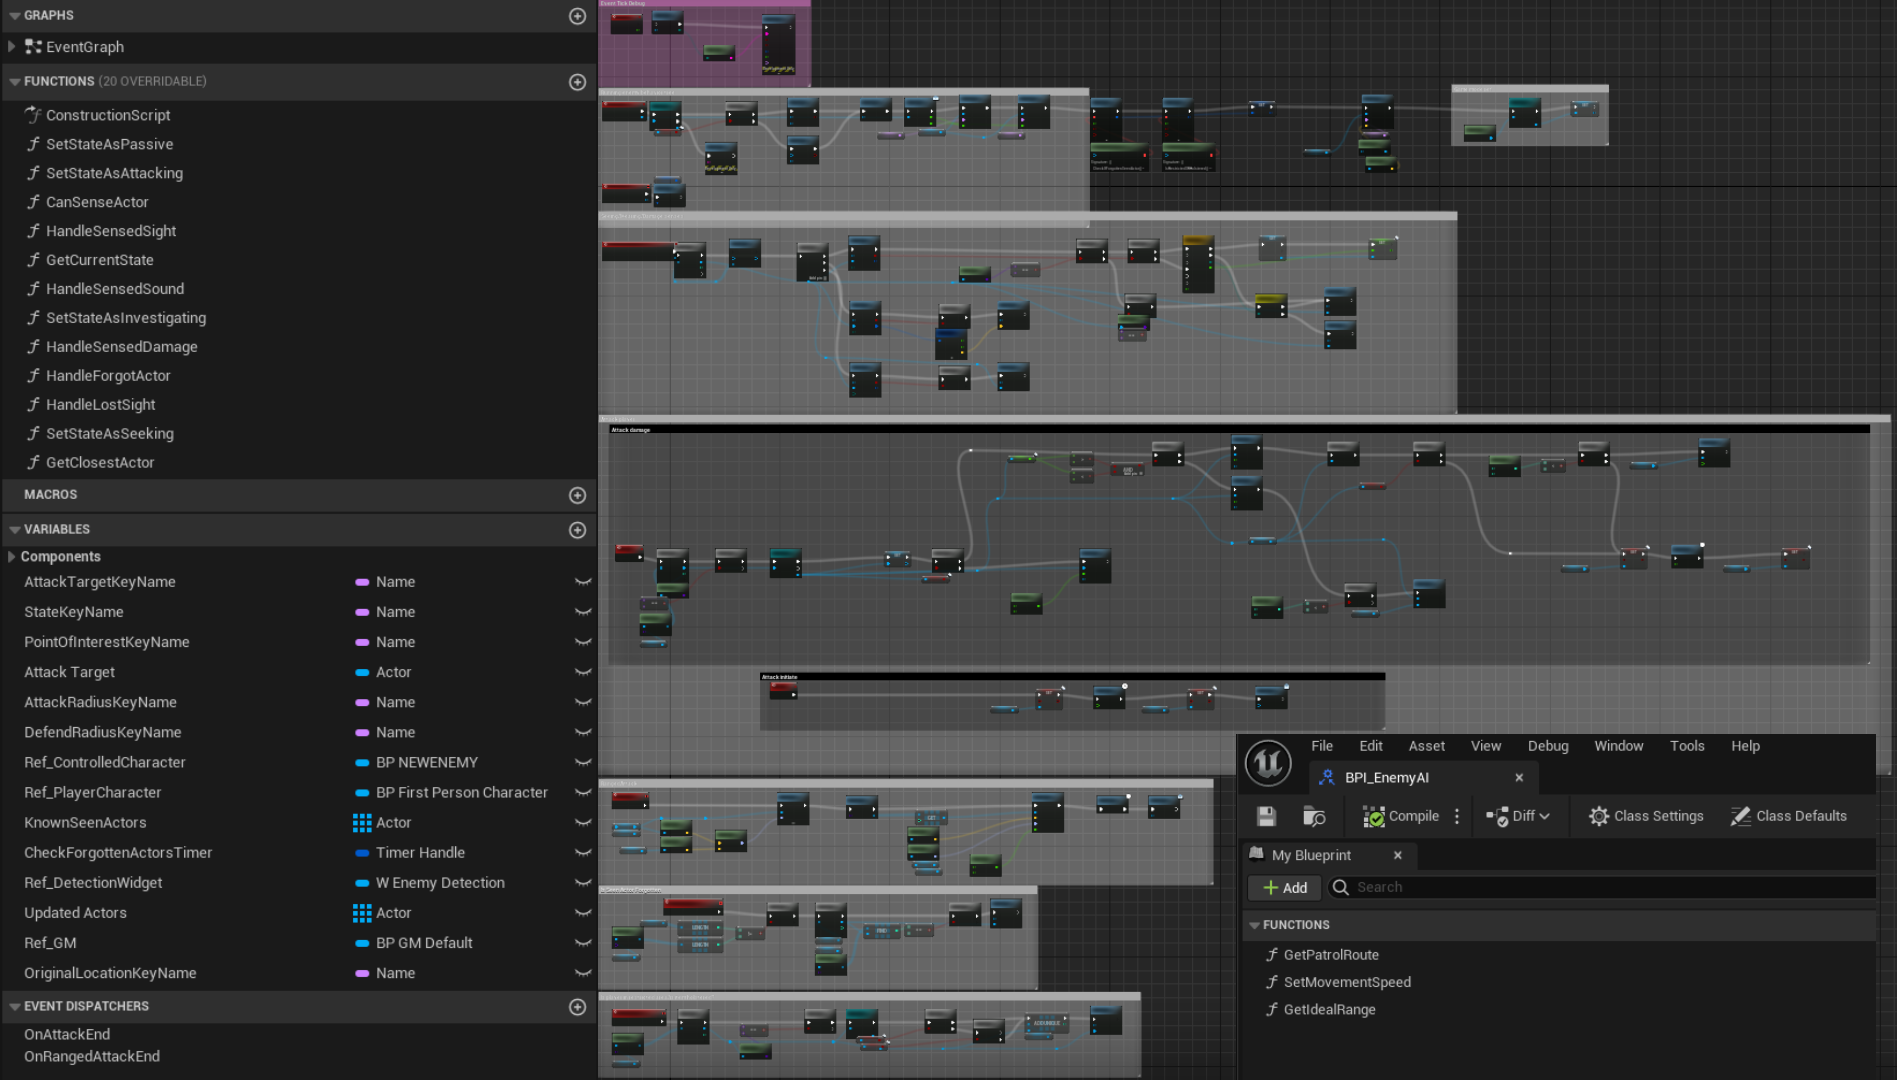
The AI makes use of the behavior tree, an interface to pass through movement related values, an AI controller, custom tasks and decorators, a custom spline-based patrol route blueprint, enumerators for states, senses, and movement, the environment query system for dynamic movement, and of course a character blueprint for the controlled enemy. As there is one enemy blueprint most functionality is based in the controller with some values and actions being controlled directly from the enemy blueprint itself
Behavior tree
For the A.I. I decided to use Unreal’s behavior trees. This was made easier by the fact we only have a singular enemy type, the guard.
All other A.I. are friendly to the player and have much simpler behavior.
We use two separate behavior trees, the only difference being the attack function as one is melee and one is ranged. These trees do however share the same blackboard allowing us to also use the some controller with the same variables.
AI Controller
The AI controller blueprint is used to control most basic functions and where the AI decides which behavior tree to run based on what type of enemy they are.
This is where all general functions for both the ranged and melee enemy take place, and where all senses come from. This includes seeing, hearing, and perceiving damage. Based on this perception system the AI can either investigate something suspicious like a sound, or attack a player when it sees they are in a restricted area. A basic interface is used here to pass some variables from enemy to controller.
Environment Query System
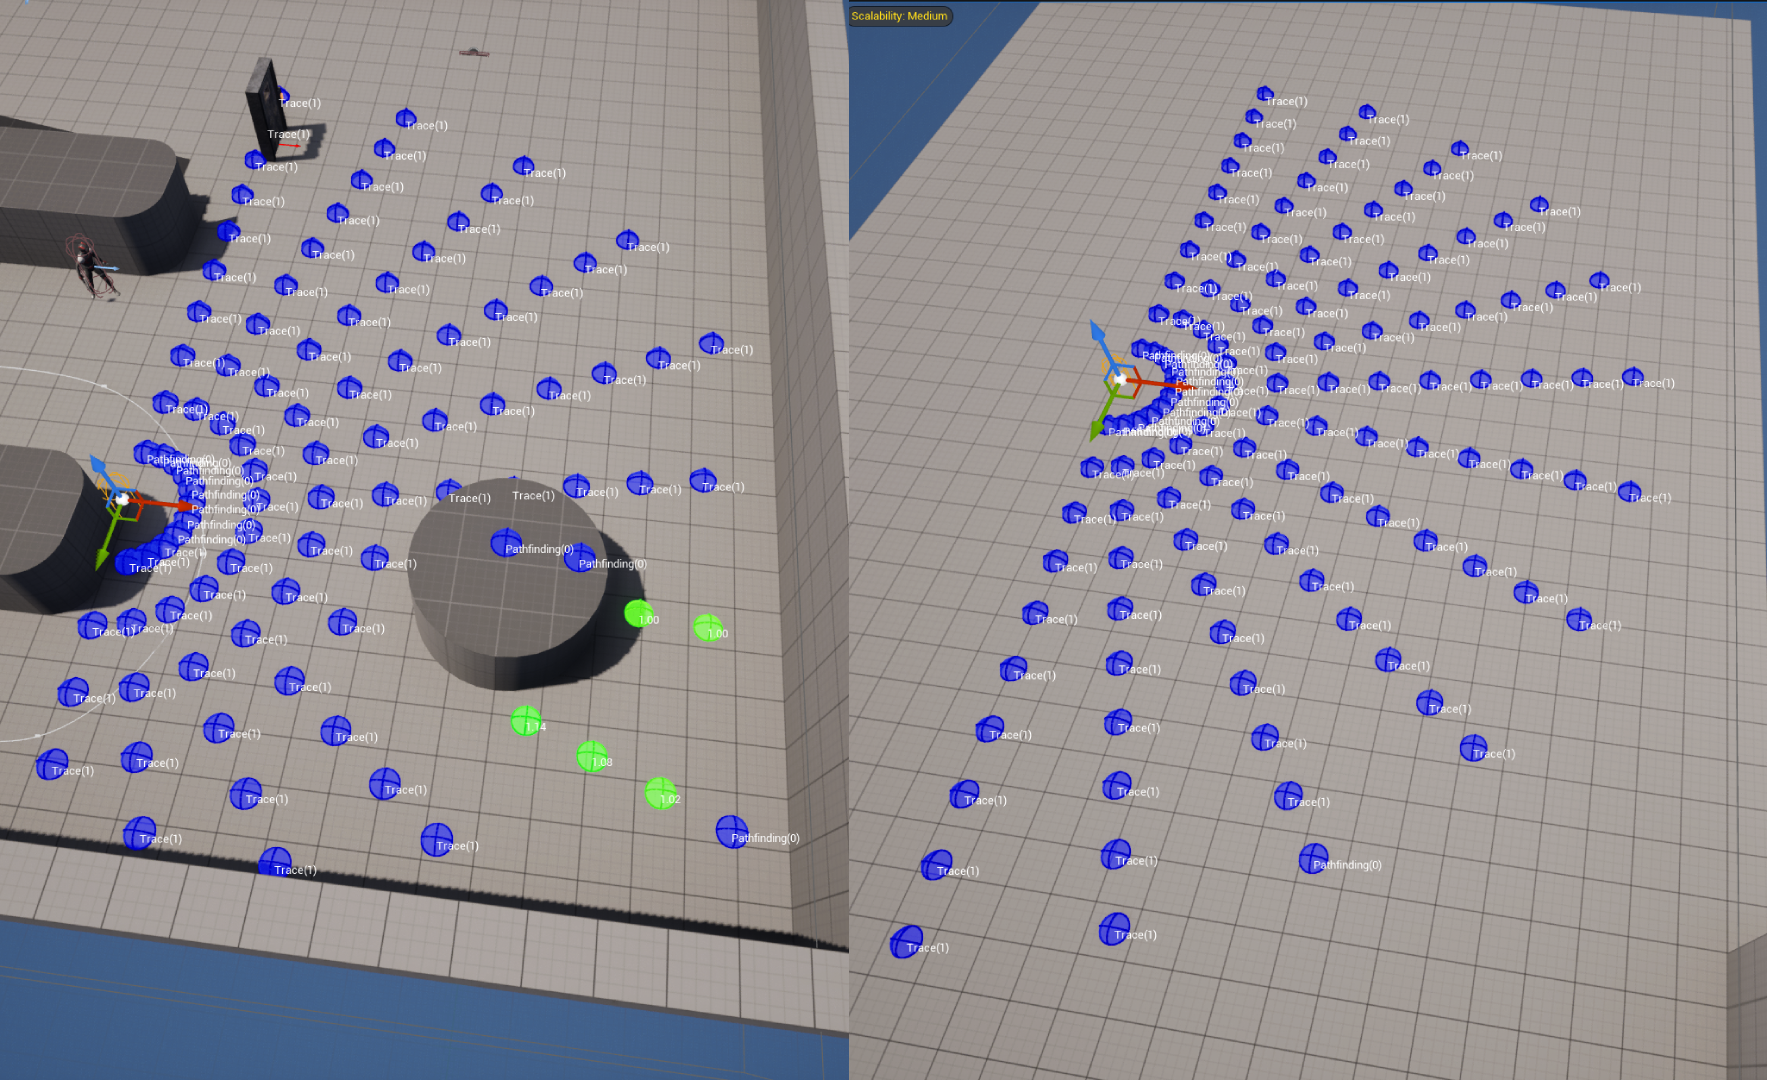
I used the EQS to allow the enemy to strafe, seek, and for the ranged enemy to find a point to fire from. The image to the right shows the seeking EQS query. This query is ran when the enemy loses sight of the player but has not yet forgotten him. It checks in a 160° radius in front of the enemy to see if there are any areas the player could be hiding. The most likely hiding spot, the closest one, will then be investigated by the enemy. If the player is not here the AI will simply find the next spot and will run this query 4 times or until 30 seconds have passed. After this the enemy will forget the player and return to their original location, or patrol path.
Strafing works by moving in to attack the player, then moving back, moving either left or right in a circle around the player, and then attacking from that position again. The ranged enemy point of attack works the same but instead of approaching the player he will fire from that position as long as he has line of sight.
Individual Enemy NPC
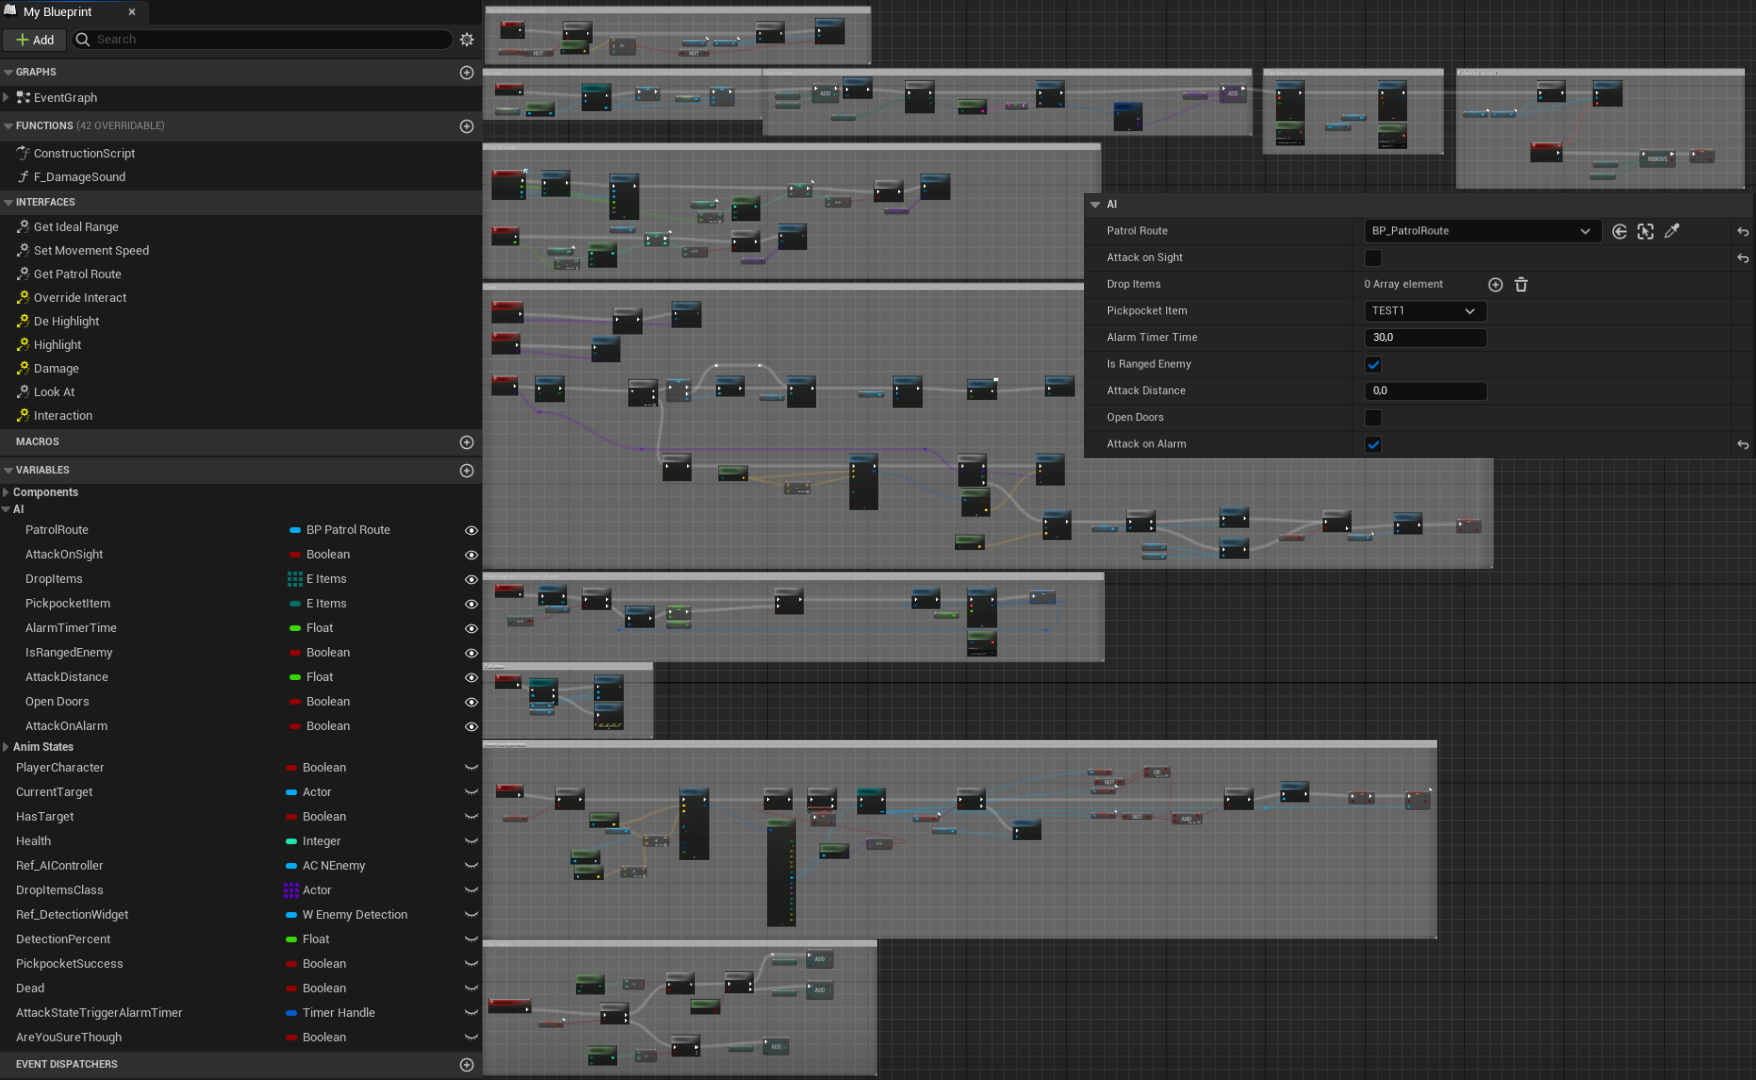
Some functions and features needed to be editable on an enemy by enemy basis for our designers. This is why we have multiple variables set to be editable, like if the AI can open doors, if they respond to an alarm, if they follow a patrol route etc.
Functions like taking damage, death, and what weapon to use also had to be done on the enemy individually.
Settings:
Setting and applying video settings
Settings the video settings is done through binding a text field entry to a variable set by the buttons. Graphics settings for example have a value from zero to four, where 0 = low and 4 = cinematic. This is repeated for every setting. Once the player has set all their settings, they click apply. This gets the gamer user settings and checks the variables for all the settings, then they see what that variable is equal to, and then applies that setting.
DLSS integration
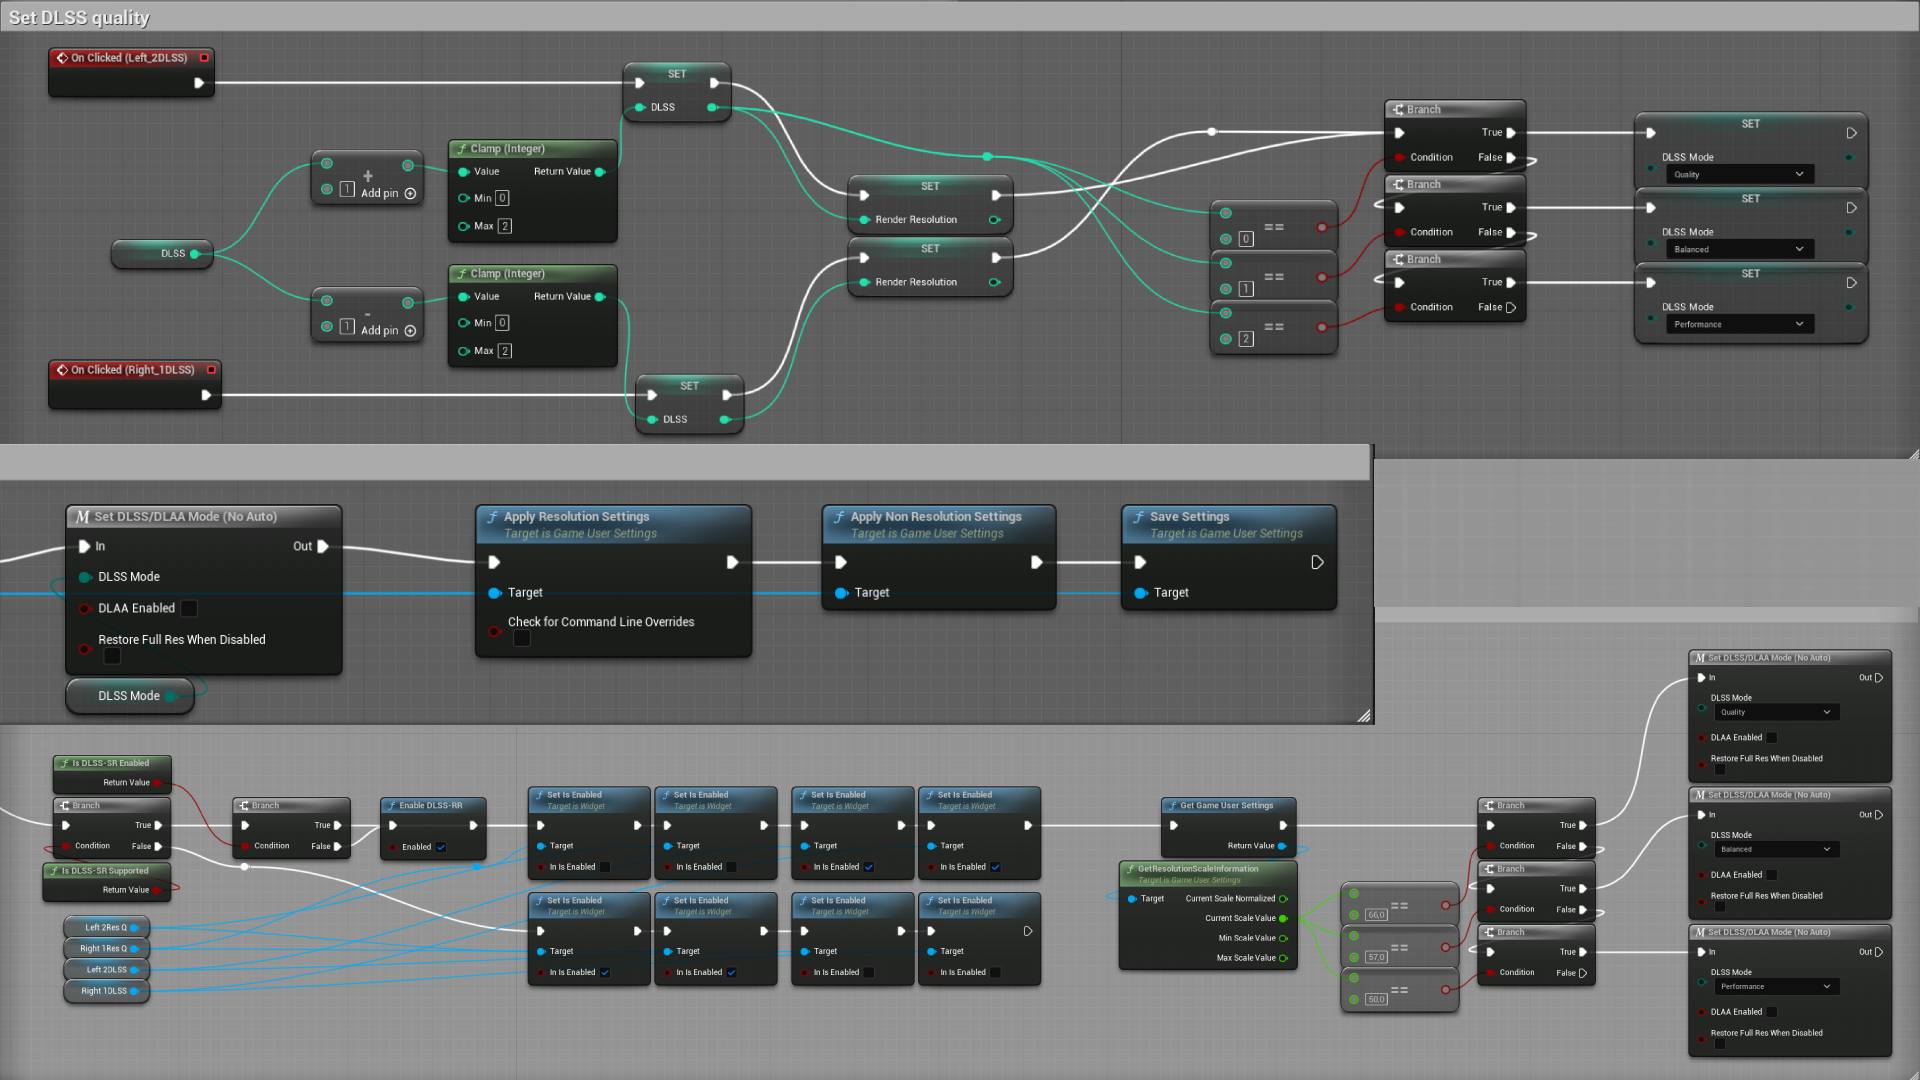
We used Nvidia’s DLSS plugin for unreal to make implementation as easy as possible. Since a custom save file was currently not a prioriety we used the render resolution value to set the DLSS setting. This means that when the player sets the DLSS quality I first set the Render resolution value in the game user settings, and then apply DLSS. When the game starts it reads the game user settings file, if the users system supports DLSS it will disable the render resolution toggle and set the DLSS quality based on the saved render resolution value.


